Motivation
I got rid of my AT&T router a few days back and managed to have a Mikrotik router hAP ac² as an alternative. One benefit of using a mikrotik router, specifically, its RouterOS, is the customizability to add cool features to my home network. I have very slow traffic when using the AT&T home network when visiting some websites, e.g., weibo, so I want to route them via a VPN running on oracle cloud.
Check out my previous post about setting up an OCI instance if you are interested.
Set up an IPSec VPN
I usually use Tailscale for VPNs but seems mikrotik does not have it for now. So I found an IPSec VPN auto setup script to ease the burden. Please checkout this repo for a detailed walkthrough.
For Ubuntu & Debian, the one-liner script is:
wget https://git.io/vpnsetup -O vpn.sh && sudo sh vpn.sh && sudo ikev2.sh --autoSet up an IKEv2 client on the Mikrotik router
You can find some tutorials on setting up a NordVPN on a RouterOS, like this one and most of the steps are similar to what we need to do.
Step 0: Import your .p12 file
This .p12 file acts like the all-in-one cert and is usually encrypted with a passphrase. You can find it in the output of the previous step when you setting up the VPN server.
Upload your .p12 file to the Files of the mikrotik router. You can verify the file is accessible by using the following command:
/file printAnd you will find something like this:
# NAME                                       TYPE                                            SIZE CREATION-TIME
0 vpnclient.p12                              .p12 file                                       4425 may/27/2021 22:00:00
Next import this .p12 file via:
/certificate import file-name=vpnclient.p12 passphrase=YOUR_PASSPHRASERemember to substitute your passphrase in the above command. And you probably need to run this command twice until you see the number of private-keys-imported is 1.
Then go to the certificates tab of the web portal, check the one with KT marker, note it down and it will be the one we will use in the next steps.
Step 1: Set up the IKEv2 client 1
Create a separate Phase 1 profile and Phase 2 proposal configurations to not interfere with any existing IPsec configuration:
/ip ipsec profile
add name=ike2-oracle-vpn
/ip ipsec proposal
add name=ike2-oracle-vpn pfs-group=none
Create a new policy group and template to separate this configuration from any other IPsec configuration:
/ip ipsec policy group
add name=ike2-oracle-vpn
/ip ipsec policy
add group=ike2-oracle-vpn proposal=ike2-oracle-vpn template=yes dst-address=0.0.0.0/0 src-address=0.0.0.0/0
Create a new mode config entry with responder=no that will request configuration parameters from the server:
/ip ipsec mode-config
add name=ike2-oracle-vpn responder=no
Create peer and identity configurations, remember to substitute yoru server IP and the correct certificate filename in the following command:
/ip ipsec peer
add address=123.123.123.123/32 exchange-mode=ike2 name=ike2-oracle-vpn profile=ike2-oracle-vpn

/ip ipsec identity
# vpnclient.p12_1 is the one with `KT` marker on it
add auth-method=digital-signature certificate=vpnclient.p12_1 generate-policy=port-strict mode-config=ike2-oracle-vpn peer=ike2-oracle-vpn policy-template-group=ike2-oracle-vpn
Verify that the connection is successfully established:
/ip ipsec
active-peers print
installed-sa print
You should see an established connection to your VPN server.
Step 2: Prepare the list of IPs to be sent over the tunnel
Grab some existing IP-list and wrangle it to fit RouterOS. The following command will get a list of China IP ranges 2, add them to a list named CNIP, and prepare them so that they can be easily imported to the mikrotik router.
curl -s https://raw.githubusercontent.com/17mon/china_ip_list/master/china_ip_list.txt |sed -e 's/^/add address=/g' -e 's/$/ list=CNIP/g'|sed -e $'1i\\\n/ip firewall address-list' -e $'1i\\\nremove [/ip firewall address-list find list=CNIP]' >cnip.rscNow same trick: upload this file to the router, and import it via /import cnip.rsc. Note that this list is huge and it may take a while to ingest it.
Step 3: Tag traffic that match the list in Mangle Firewall
Set the connection-mark under your mode config configuration:
/ip ipsec mode-config
set [ find name=ike2-oracle-vpn ] connection-mark=ike2-oracle-vpn
When it is done, a NAT rule is generated with the dynamic address provided by the server:
[admin@MikroTik] /ip firewall mangle> /ip firewall nat print
Flags: X - disabled, I - invalid, D - dynamic
 0  D ;;; ipsec mode-config
      chain=srcnat action=src-nat to-addresses=192.168.43.10 connection-mark=ike2-oracle-vpn
Apply connection-mark to traffic matching the created address list:
/ip firewall mangle
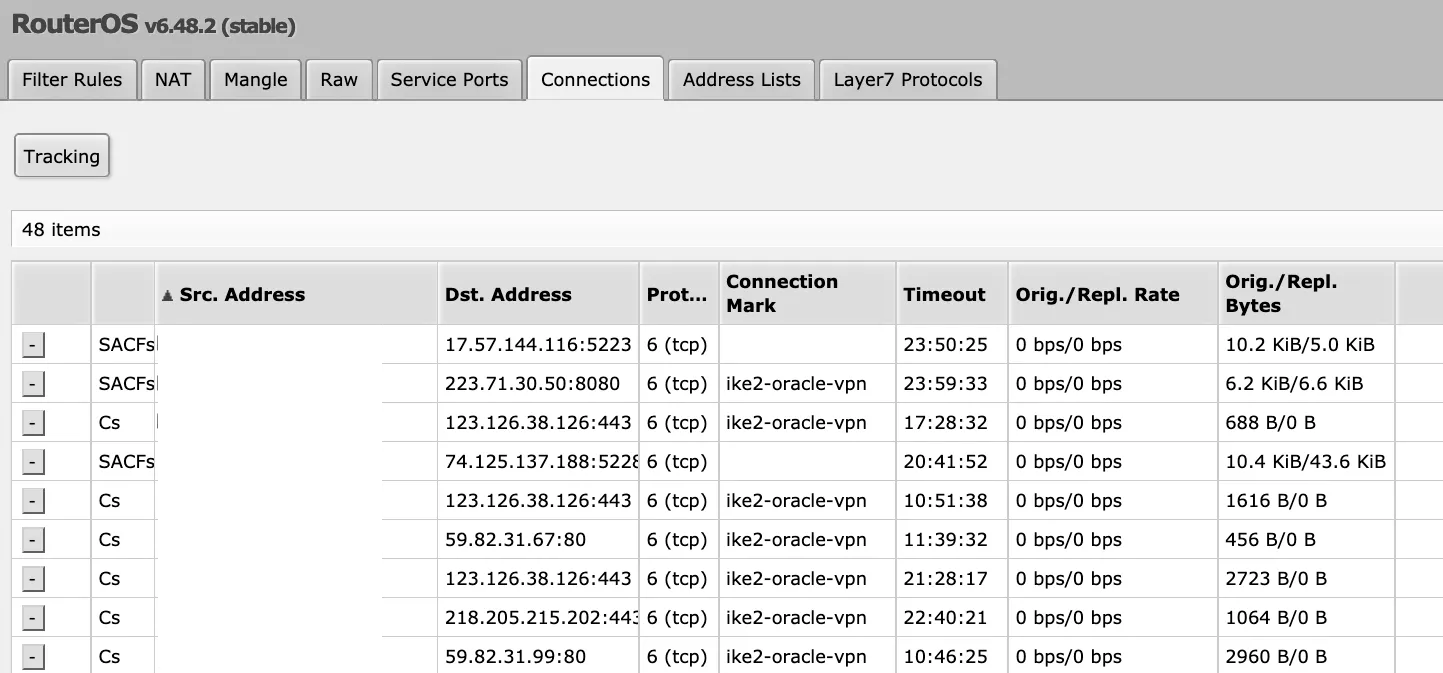
add action=mark-connection chain=prerouting dst-address-list=CNIP new-connection-mark=ike2-oracle-vpn passthrough=yes